Top 3 Mascaras


Mascara is every girls essential, if there was one makeup item I was only allowed to use for the rest of my life it would have to be mascara. I've collected so many but somehow stick to the same three over and over again.
 
They're Real(Benefit)- Everybody's old favourite until Roller Lash was born. However it still has a place in my heart. This is a waterproof mascara and adds such a flutter to your lashes.  I actually really disliked the 360 end of the brush so chopped it off... it annoyed the life out of me and I constantly found that the mascara ended up all round my eye with the end on. Once I took the end off I found that they're real and I got along so much better!
 
Soap&Glory Thick&Fast-  Something a little more affordable. I was gifted this mascara for Christmas and oh my. My lashes look so lovely with this on!! I curl my lashes then apply a few coats of this. It makes my lashes look so much thicker and longer, also as if there's a lot more eyelashes on my eyes than there actually is. This mascara isn't waterproof, for some this is a problem but to be honest I never get tears in my eyes or ever really need a waterproof mascara. This wasn't a huge let down to me in all fairness.
 
Roller Lash(Benefit)- Every girls new best friend. I got this little sample in the Elle magazine. I didn't know what to expect but it was love at first sight when I saw the brush! I love the curve and this makes it super easy to get right into the root of the lashes. When I only applied one coat of mascara for the first time I was instantly wowed. I hands down prefer this to the They're Real. I will definitely be buying the full size of this!!
 
 
They're my top three mascaras. What are yours?


5 Bits You Need!!


Hey lovelies. I am so sorry that my blog has been slacking lately but I do have an excuse, I promise.  I have a lot of exams coming up so its all been revision, revision, revision lately. Today I have drafted up a few though so it wont be as long till my next blog post!!
 
 
Makeup Revolution Iconic 3 Palette -  If your like me and on a budget however still long for the Naked 3 Palette, then seriously get this! This is only £4 and the pigmentation is just as good at the Urban Decay one. I pretty much always use this whenever I went something a little prettier on my eyes.
 
 
S&G Supercat eyeliner - Felt tip eyeliners are so clichéd and a lot of people I know don't enjoy using them. I on the other hand haven't looked back since first picking this up. It's a very jet black colour and dries within 1oseconds. I found that this lasts so much longer than gel liner and I prefer the finished look of this.
 
S&G aluminising face powder - I dropped this right before taking a photo.. thank god it didn't smash too bad!! *Perks of being a beauty blogger..not* I love using this on top of my cheekbones and slightly down the centre of my nose. I guess you could dust this lightly over your whole face for a night out and it wouldn't look too bad.
 
 
Benefit Hoola Bronzer - I always, always go on about this but every beauty blogger and their mum has this. It's amazing for contour, bronzing and eye shadow.  Whenever I wear makeup this is always on meh face. This is a bit pricey but it lasts you so long and is so worth it.
 
MAC cremesheen in Crème In Your Coffee lipstick -  You need at least one MAC lipstick in your makeup collection.  I really recommend their cremesheen ones or their matte ones! My favourite one in my collection is 'Crème in your coffee' its a beautiful brown/nude.


March Favourites


It's almost Easter and I haven't done nearly half of my resolutions, I honestly feel like I blink then a second later I'm back with ANOTHER monthly favourites. This month I've discovered more  old faves than new. 


Neutrogena 2-in-1 Wash&Mask - This is most definitely my favourite, favourite from this month. Since using this my skin has cleared up SO MUCH. It works amazingly as both a wash and mask, I can fault it in anyway. As a mask its really cooling and pulls anything horrid from beneath your skin so when you wash this off your skin looks and feels clean and new.
 
Rimmel London Match Perfection - This was my first foundation that I bought when I first got into makeup and  I don't know why I forgot about it for so long. If you have oily skin then this is the one for you. This gives off such a beautiful matte look with a hint of duey looking skin.
 
Simple Toner - I only recently got back into toning my skin due to laziness. Since I started again my skin has improved a lot. It's felt cleaner and fresher. I love toning morning and night followed my a moisturiser.
 
Soap & Glory flake away - As it's finally spring time that has meant tanning is a new must have before I start getting my legs out any time soon. Before I tan I always exfoliate using quite a harsh exfoliator. I only recently discovered S&G flake away. This has helped keep dead skin away and helps my tan glide on so nicely.
 
Tanya Burr, Chic - I've missed wearing this so much!! Throughout autumn and winter I forgot about my peach/pink lip colours. Therefore the second it got to March I whacked them all out. The one I have been wearing the most is one of Tanyas. Her lipglosses smell and look amazing.
 
MUA nail varnishes - I'm currently off school for easter so with two weeks to do what I want I've been painting my nails all sorts of colours. About 3weeks ago I dug up some of last years varnishes. When I came across these two beautiful shades. Mint green - pistachio ice cream, coral - sweet peach. MUAs polishes are amazing quality and they're a POUND.


Chocolate Cookies Recipe


 I'm pretty sure you all know who Tanya Burr is and have seen her many of times feature her chocolate cookies in blog posts and videos. Today me and my step sister Blythe decided we fancied making them for our self. These honestly are the most gooey, chocolaty cookies full of calories but totally worth it.


To make 10 cookies you will need:
 
200g butter
300g caster sugar
1 large egg
275g self-raising flour
75g cocoa powder(optional)
A little dash of milk
A large bar of white and dark chocolate
 
 
Pop on your apron and pre-heat your oven to 200 degrees celsius. Whizz together your butter and sugar, until you are left with a smooth mixture. If your butters a little colder it will take a little longer so I recommend letting your butter be a little warmer.


Next you have to crack in your egg - not getting egg shells in your mixture. Its been done before.
 
Now you can add all your other dry ingredients, blending it together until it lumps free. If you do end up with a dry mixture then just add a dash of milk.
 
Time for the real fun, chocolate time!! Break up all your chocolate and pop it in the bowl.


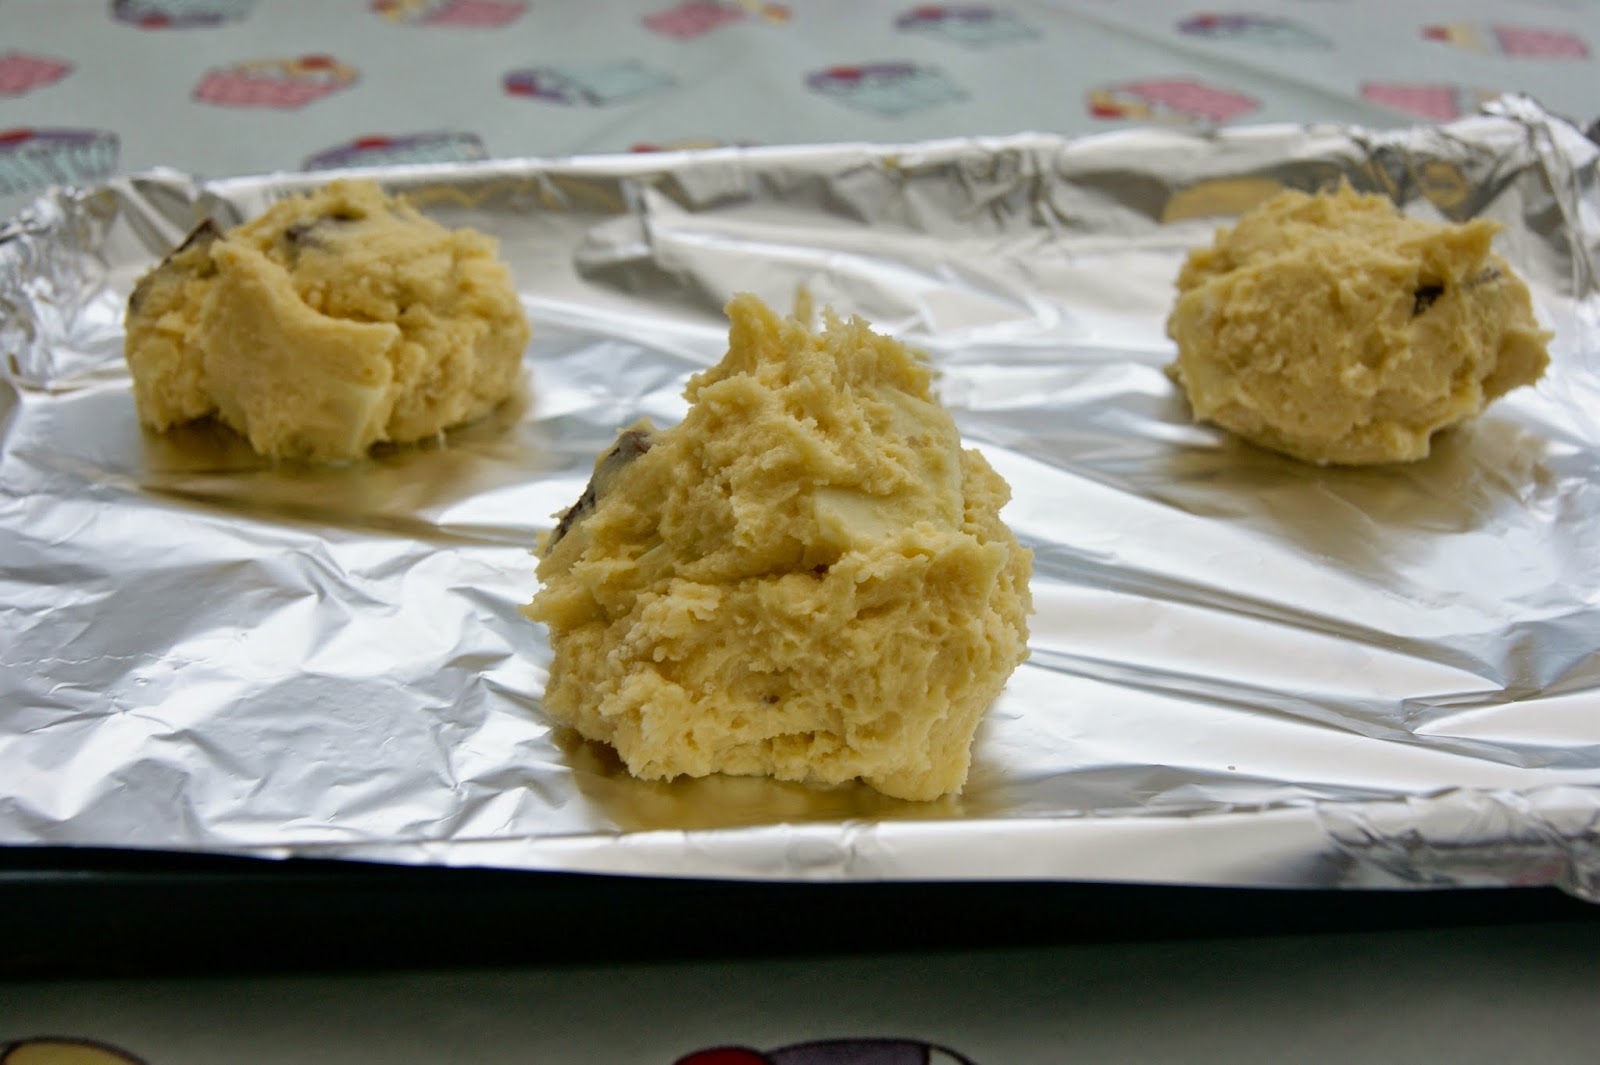
Once the chocolate has been added, grab two trays and line them with foil or baking paper, they both work. Use your hands to create ten chocolaty blobs.
 
 
Once you've created all your chocolaty blobs, place them in your oven at for 11 minutes. Tanya does actually state that you should not cook these for longer than 11 minutes. When you get them out I can warn you they wont look cooked but after 3o minutes of cooling time they will!


That's your cookies done! After the 30 minutes, I recommend eating one straight away as they're still gooey on the inside and a little bit warm.
 
I hope you enjoy making them and eating them!
 
Kiera